

Many recliner sofas have backs that lift off their brackets, which makes the furniture much easier to carry through doorways, hallways, and stairwells. This guide shows you how to confirm your model's design, prepare the area, release the back, and refit it with confidence. Whether you own a manual recliner or one of the power reclining sofas and chairs today, the same core routine applies: check the instructions, isolate power, release the retainers, lift, and reassemble in reverse.
Your model's manual is your best companion throughout. It names the exact release points, the tools to use, and the lifting direction, so keep it open while you work.
Table of Contents
Step 1: Confirm How Your Back Attaches
Start by finding the product label and the assembly instructions for your sofa. Your order confirmation can help customer support send the right document if the paperwork has gone missing.
Look for the diagram that shows the back being installed onto its brackets. Installation diagrams work in reverse, so they show you exactly where the back seats and what holds it there. If your document only covers installation, a quick message to customer support with your model name will get you the removal steps.
It also helps to know which sections detach. A three-seat sofa may have outer reclining seats with their own back units, plus a center section built differently. Each back follows its own instructions, so note them one by one.
Step 2: Learn the Common Release Systems
Recliner backs generally attach in one of a few ways. Knowing the family your sofa belongs to makes the instructions much easier to follow.
Release system | How it usually works | What to check in your manual |
Locking levers on back brackets | A lever on each bracket is moved to unlock the back | The unlocking direction and any tool required |
Spring tabs or clips | A tab is pressed or lifted to free the back | Which part releases and how to support the back |
Removable fasteners | Specified bolts or screws hold the back in place | Fastener locations and the tightening notes for reassembly |
Hidden retainers behind fabric | An access flap reveals the hardware | Where the flap is and how it opens |
These systems differ from one product to the next, so the manual for your exact model is the best guide to which one you have. Many manuals also remind owners to use the furniture only once the back is installed and locked, which is a handy checkpoint to keep in mind when you refit it later.
Step 3: Prepare Your Route and Workspace
A few minutes of measuring pays off. Record the narrowest doorway, hallway turn, stair landing, and the destination opening. Then compare those numbers with the dimensions of the sofa after the back is removed. Taking off the back reduces height most; checking the base's width and depth tells you whether the route is clear.
Set up your workspace:
- Clear a path behind and beside the sofa for you and a helper.
- Lay down a blanket or padding for each removed back.
- Gather labels, a marker, a phone for photos, and the tools named in the manual.
- Keep a small container for any fasteners the manual tells you to remove.
Bring the sofa to the starting position the manual recommends. For many models this is the footrest closed and the sofa standing in its normal upright position.
Step 4: Isolate Power (Power Reclining Models)
For a power sofa, unplug the supply first and follow the manual's isolation steps, including any separate power packs or backup batteries. Disconnect any electrical cables the manual names before the back comes off. Leave the plug in view and tell everyone in the house that the sofa is being serviced, so nobody reconnects it midway.
Step 5: Access and Label the Connections
Open the access flap or covering your instructions describe. Fabric panels held with fastening tape are a common access point. Peel the tape back gently and keep the cover in one piece so it returns neatly afterward.
Then:
- Photograph the brackets and cable routing from a couple of angles.
- Label each connector pair, using the seated person's perspective: left, center, or right.
- Hold connector housings, not the wires, when separating them with the method your manual specifies.
- Support the back while you work so no cable carries its weight.
Step 6: Release and Lift the Back
With power isolated and the back supported, release each retainer your manual identifies, using the tool and movement it specifies. Many designs have two brackets, one per side, so release both. Then lift in the direction shown, keeping the back level and balanced. If your helper stands on the opposite side, you can lift together smoothly.
If one side stays snug, lower the back gently, check the diagram, and confirm both brackets are fully released. A short pause and a second look at the instructions usually solves it.
Place the removed back on your padding, protect any exposed connectors, and keep hardware with its label. Work on one back at a time so every part can be traced to its original position.
When carrying the remaining base, use the lifting points in your moving guidance. As a general rule, hold the frame rather than the mechanism, footrest, or reclining back when you lift.
Choosing a Recliner Sofa That Is Easy to Plan Around
The easiest way to handle a tight entrance is to plan before ordering. Two things are worth settling early: the size of the sofa on delivery day, and how much room it needs once it is in place.
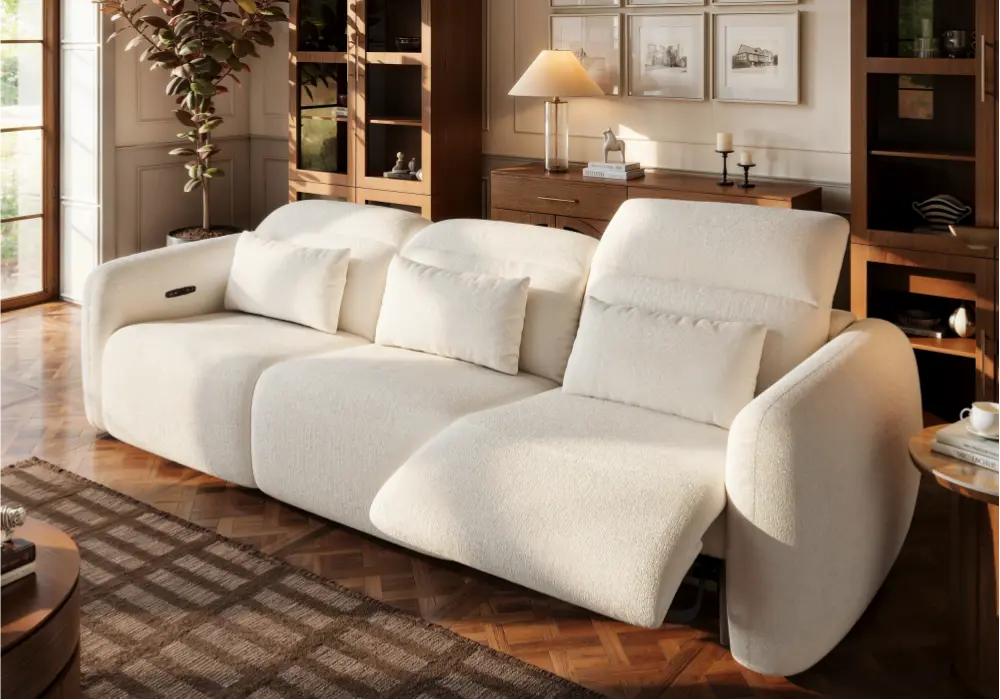
The Softplume chenille zero gravity power reclining sofa is a dual-motor power recliner with a "Triple-Zero" design that combines zero gravity, zero wall, and zero gap. The zero-wall feature lets it recline fully without moving away from the wall, so you can plan the room with less space reserved behind it. Soft chenille upholstery and layered cushioning make it a comfortable centerpiece for a living room. Before delivery, ask customer support for the assembly drawing and packaged dimensions to match against your entrance measurements.
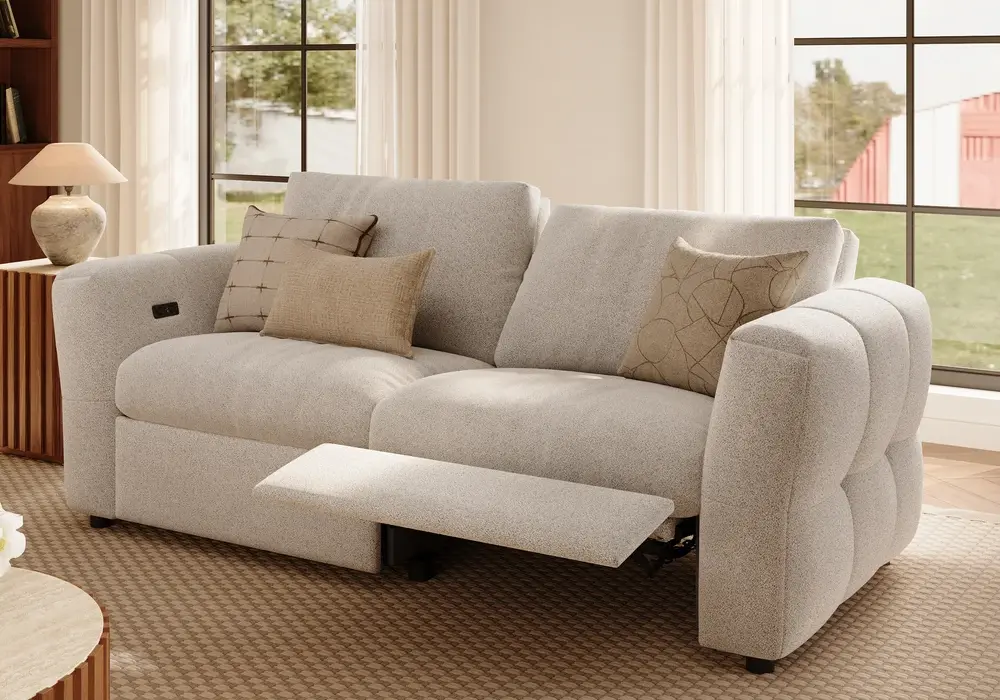
The Glidio chenille power reclining sofa with adjustable headrests is an 86-inch (2184 mm) two-seat layout, a good scale for couples, smaller living rooms, and family spaces where a longer three-seat sofa would crowd the floor plan. It offers independent recline on each seat, five-position headrests, USB and USB-C charging ports, and spill-resistant performance chenille for easier everyday care. Its compact footprint can make it simpler to route through narrow halls, and customer support can confirm the delivered dimensions for your specific route.
Before you order any recliner sofa, send the retailer this short checklist:
- The packaged and assembled dimensions, including depth and height.
- Whether the sofa ships in one piece or in sections.
- Whether an approved disassembly procedure for the back is available.
- The clearance needed behind the sofa when fully reclined.
Having these answers in hand makes delivery day smooth and keeps your measuring plan simple.
Step 7: Refit the Backs Before Restoring Power
At the destination, glance over the brackets, connectors, and retainers for any visible damage. Everything in good order means you can go straight to reassembly.
- Reinstall each back in its original position, following the manual's sequence in reverse.
- Check that every bracket is engaged and every lock is back in its secured position, on both sides.
- Reconnect the electrical connectors, matching your labels, and route cables clear of pinch points.
- Close the access cover with the cables tucked inside.
- Complete the manual's locking checks, then reconnect power.
- Clear the movement area and run the operating check the manual describes.
The sofa is ready for use once every back is installed and locked. Keep your photos until you have confirmed normal, secure operation.
Frequently Asked Questions
Do recliner sofa backs come off?
Many do, and the manual for your model tells you which sections detach and how. If your documents do not mention removal, customer support can confirm it for you in writing.
Can I remove a recliner back without tools?
Some systems release by hand, such as levers or tabs, while others use specified fasteners. Gather the tools named in your instructions before you start, and the job goes quickly.
Why will only one side of the back lift?
Usually one bracket is still engaged. Lower the back gently, check the diagram, release the second retainer, and lift again with both sides moving together.
Should I unplug a power sofa before removing its back?
Yes. Unplug the supply, follow the manual's full isolation steps, and manage the back's electrical connectors in the order your model specifies.
Will removing the backs help my sofa fit through the door?
It reduces the height of the piece, which helps with many doorways and stairwells. Compare the remaining base's width and depth with your route, and ask customer support for component dimensions when the measurements are close.